Conservation Planning: Surveys, Schedules & Phasing
Successful architectural conservation avoids hurried interventions. Thoughtful planning begins with detailed condition surveys, itemized repair schedules, and coordinated phasing that respects both building fabric and project budgets.
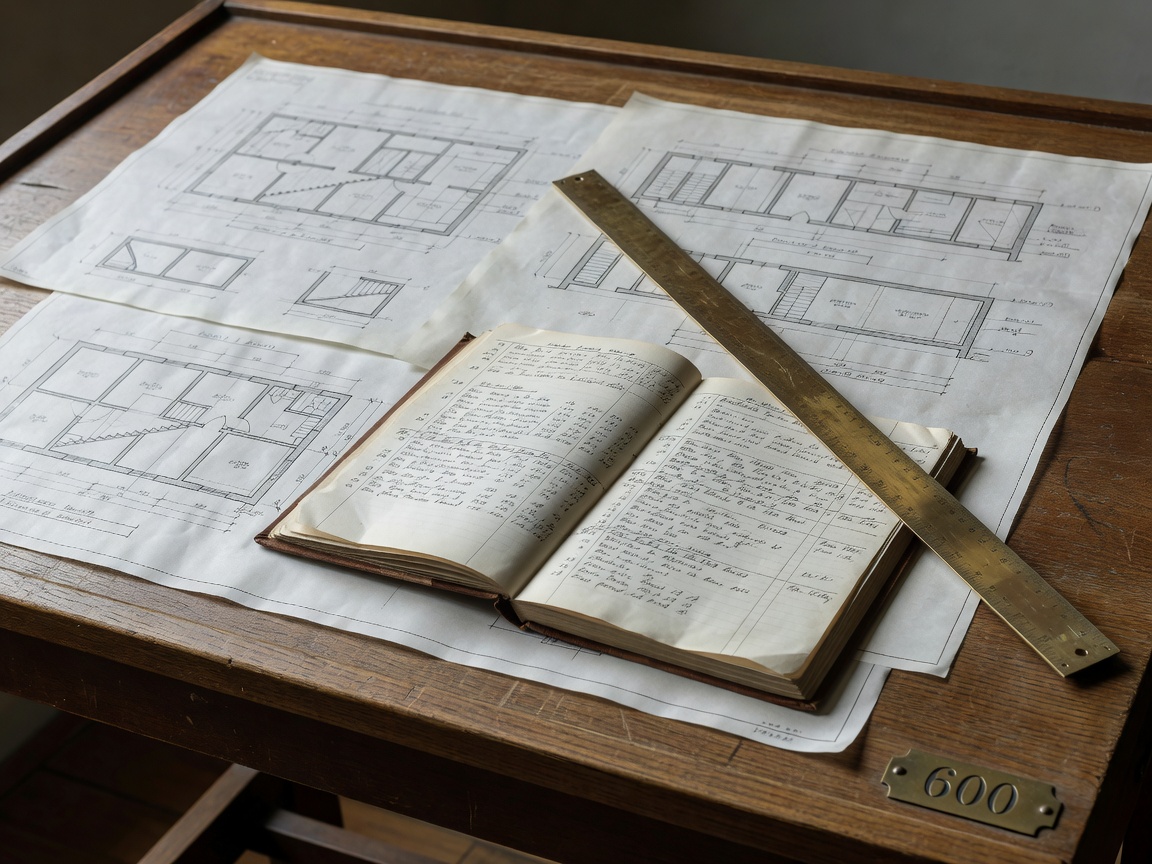
The Foundation: An Itemized Window Schedule
Every heritage window project should start with a comprehensive window schedule. Each window opening receives a unique elevation identifier (e.g., W-E01-02), recording dimensions, joinery profiles, timber species, paint layer history, and specific defects. This turns subjective assessments into an actionable technical roadmap.
Establishing Conservation Priorities
When tackling a property with dozens of historic windows, budgets rarely allow for restoring every unit at once. Prioritizing work systematically helps prevent ongoing moisture damage while keeping budgets on track:
Priority 1: Active Ingress
Windows with failed sills, decayed bottom rails, or missing glazing putty where driving rain directly enters the building envelope and endangers interior plasterwork.
Priority 2: Structural Binding
Sashes with snapped cords, dropped pulleys, or distorted frames that cannot close fully, causing high heating loss and ongoing mechanical strain.
Priority 3: Cosmetic Finishing
Windows with weathered or micro-cracked paint films where the underlying wood remains dry, requiring only light scraping, oil priming, and fresh topcoats.
Coordinating with Façade Restoration Trades
A common mistake in building refurbishment is scheduling window restoration in isolation from masonry repairs. If stonework repointing, lime rendering, or roof drainage repairs occur *after* windows are finished, scaffolding dust, alkaline lime runoff, and mortar splatters can quickly ruin fresh linseed paint and etch soft historic glass.
The recommended sequence begins with roofing and gutters, followed by high-level masonry washdowns and pointing. Joinery restoration should occur alongside or immediately after these phases, with windows masked with breathable protective sheeting while external lime mortars cure.
"Conservation planning protects your investment. Sequencing exterior repairs prevents trade cross-contamination and ensures timber interventions remain clean and weather-tight."
Working with Local Conservation Officers & Permissions
Across Europe and the United Kingdom, designated heritage properties—whether listed buildings, *Monuments Historiques*, or conservation area properties—require formal consent before altering original fenestration.
Planning officers look favorably on applications focused on repair rather than wholesale replacement. A thorough conservation plan makes this process much smoother by providing:
- Clear Photographic Evidence: Documenting localized decay alongside evidence of sound surviving frame fabric.
- Full Joinery Details: 1:1 or 1:2 cross-sectional drawings showing proposed Dutchman splices and matching moulding profiles.
- Breathable Coating Specifications: Specifying traditional linseed oil paints or breathable mineral microporous stains over modern film-forming synthetics.
- Discreet Secondary Glazing Specs: Interior mounting details demonstrating that exterior sightlines and historic glazing remain undisturbed.
Essential Documentation
- Individual window condition schedules with elevation keys.
- Timber moisture readings across multiple seasons.
- Profiles taken with a contour gauge to match moldings.
- A written maintenance plan for future property owners.
Common Planning Pitfalls
- Requesting total replacement without first proving joinery is beyond repair.
- Neglecting lead paint safety protocols during public-facing works.
- Failing to specify how temporary weatherproofing will be handled while sashes are in the workshop.
Building a Five-Year Maintenance Plan
Window conservation doesn't end when the scaffolding comes down. A thoughtful five-year inspection schedule helps avoid costly repairs down the line:
- Year 1 (Autumn Inspection): Inspect newly bedded linseed putty for even curing. Lubricate brass pulley axles and check counterweight balances.
- Year 2 (South & West Elevations): Check weather-facing sills for microscopic hairline cracks in the paint film, touching up with boiled linseed oil where necessary.
- Year 3 (Interior Check): Inspect sash cords for signs of fraying and ensure concealed draught-proofing strips remain securely seated in their grooves.
- Year 5 (Scheduled Refresh): Wash exterior frames with a mild eco-friendly detergent to remove atmospheric dirt, and apply an ultra-thin maintenance coat of linseed oil to replenish paint binders.
When to Begin Conservation Planning
Ideally, begin planning 6 to 12 months before scaffolding goes up. This allows ample time for condition mapping, joining tender reviews, and securing local planning permissions without delaying work on site.
Seasonal Timing
External joinery and putty repairs are best carried out between late spring and early autumn, when ambient temperatures consistently exceed 10°C and relative humidity stays low enough for natural oils to cure properly.